One of the first questions most homeowners ask us is whether they need to strip the old insulation out or whether a quick top-up will do. The honest answer depends on what's already up there, how wet it is, and whether anything has been living in it. Get the call right and you save money and keep the loft simple. Get it wrong and you lock in a problem that only shows up as cold rooms or damp staining two winters later.
This guide walks through the signals we use on site to make that call. None of it needs a professional eye; most of it you can work out yourself with a torch and ten minutes in the loft.
Why It Matters
Insulation only works when it's dry, fluffy, and at the right depth. The air trapped inside mineral wool is what slows heat transfer. Once that structure is squashed, soaked, or contaminated, the thermal value falls off a cliff, and no amount of new material on top brings it back.
- Laying over damp insulation traps moisture, which migrates into ceiling plaster and can stain or blister paint over the following winter.
- Laying over rodent-contaminated material seals in urine and droppings, which carry real hygiene and smell issues you'll regret within a year.
- Laying over compressed insulation leaves you with a bottom layer doing nothing, paying for full-thickness performance on paper.
- Laying over the wrong product (old-style fibreglass batts that have slumped) rarely re-expands and traps the new wool in a stepped profile that lets heat escape up the sides.
Five Signs It's Time to Remove
If you spot any of these, plan for a full removal rather than a top-up. The work costs more day-one, but the loft ends up right and stays right.
- Visible damp or staining: dark patches on the material, crusty edges, or water marks on the ceiling below. Moisture needs to come out before anything new goes in.
- Rodent evidence: droppings, visible tunnels in the fibre, a strong ammonia smell, or gnawed cable sheaths. Removal and a clean-down is the only safe route.
- Compression below 60mm actual depth: if decades of boxes and foot traffic have squashed the insulation to half its original thickness, it's lost most of its thermal value. Start again.
- Soot or chimney debris: older Cumbrian properties sometimes have decades of fine soot settled into the loft. It damages the insulation's structure and needs lifting out.
- Old-style batts that have slumped sideways: these no longer touch the joists evenly and leave cold bridges along their edges. Fresh mineral wool laid full-width fixes that for good.
Not sure which category your loft is in?
Call 714 Insulation on 07899 988437 for a free survey. We'll take a look, tell you straight, and quote whichever job your loft actually needs.
Call for a Free SurveyFour Signs a Top-Up Is Fine
If none of the removal signals are present and the existing material ticks all four of these boxes, you can lay new insulation directly on top and save the cost of a full strip.
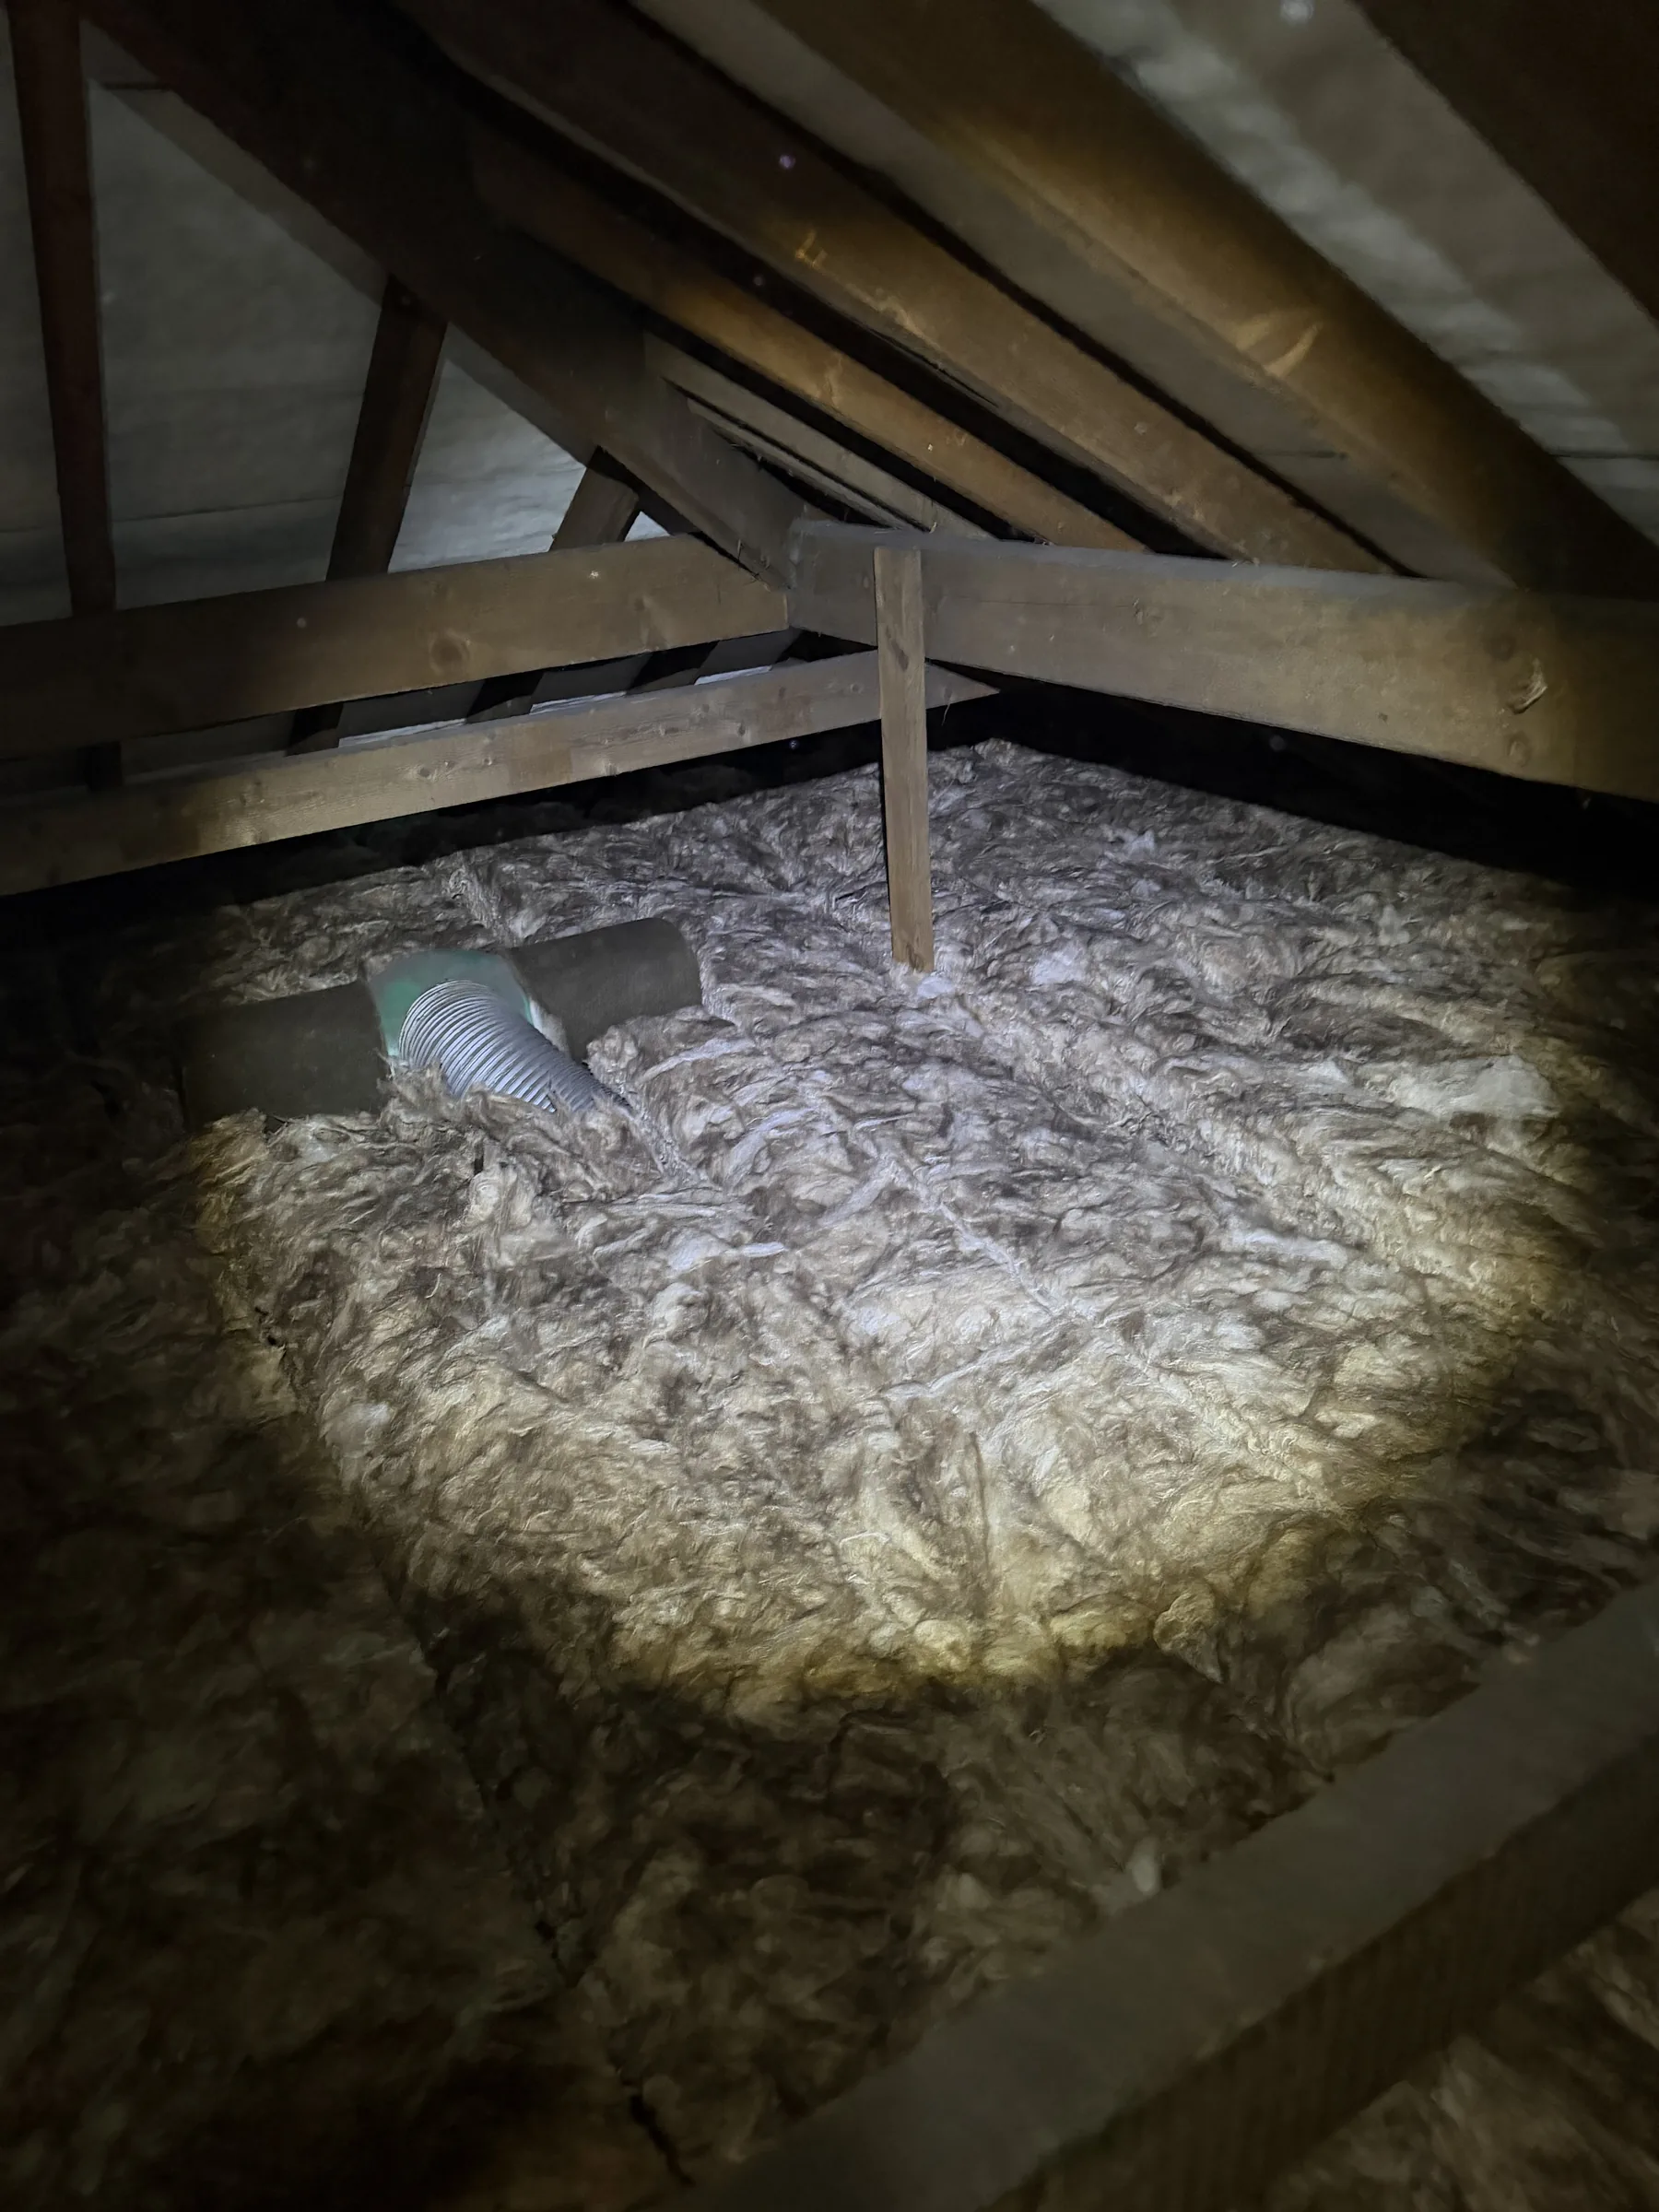
- Dry to the touch: hand flat on the fibre, no dampness, no compression of water out of it. If it's dry, it's doing its job.
- Clean and pale: no yellowing, no droppings, no staining. Older mineral wool stays light-coloured for decades when conditions are right.
- Still fluffy, not matted: the fibre should spring back when you press it lightly. If it stays flattened, it's lost its thermal value.
- At least 100mm of existing depth: below that, it's worth stripping the thin layer and starting fresh so you can lay a full 270-300mm consistently.
Where a top-up is right, we cross-lay the new insulation at 90 degrees to the existing material. That closes any gaps along joist edges and gets the full thermal value out of both layers.
A Ten-Minute Self-Check
Before you pick up the phone, you can work out which category your loft is in with a torch and a ruler.
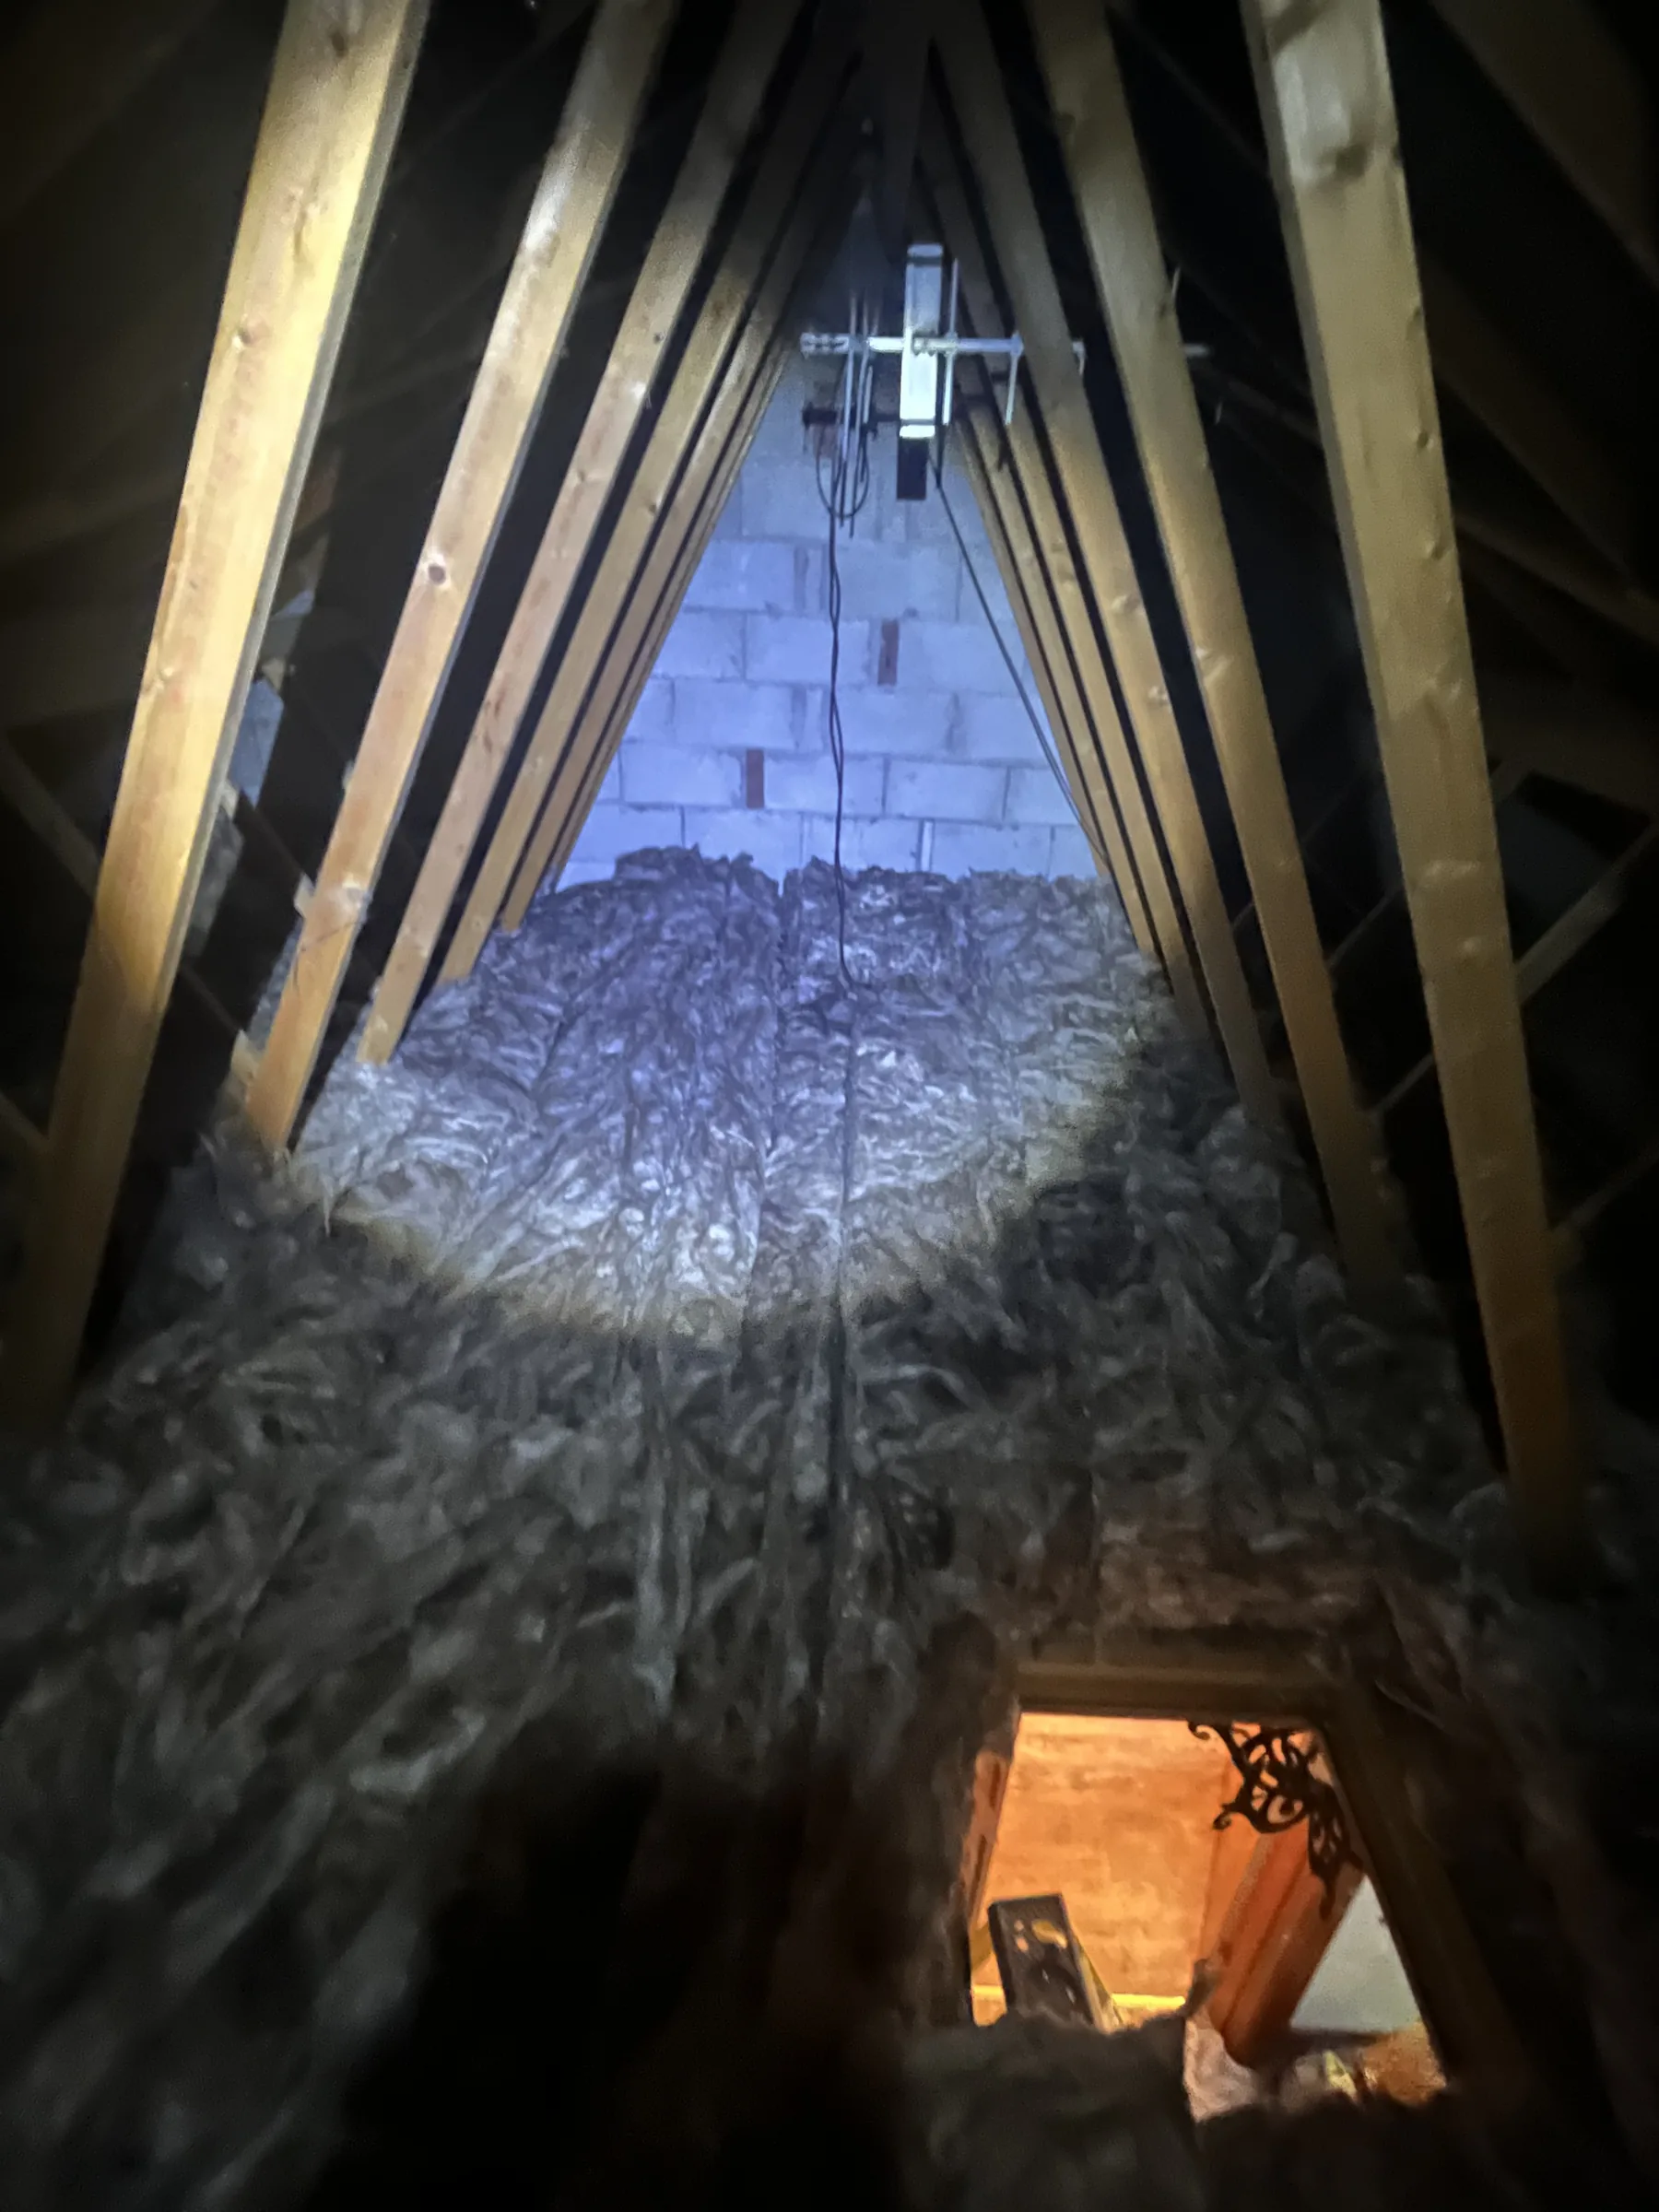
- Measure the depth: push a ruler straight down through the insulation until it hits the ceiling plasterboard or the top of the joist. Note the number. Below 100mm and you're losing a lot of heat.
- Check for damp: press the material firmly in three or four spots. If any spot feels cold and wet, or you see darker staining underneath, flag it.
- Check for rodents: shine the torch along the joists and at the edges. Droppings are dark, rice-grain sized. You'll know them when you see them.
- Check the eaves: at the edges of the loft, insulation should stop short of the roofing felt, leaving a clear ventilation path. If it's rammed into the eaves, condensation is likely even before you add more on top.
Five minutes in the loft with a torch will give you a much better sense of whether you're looking at a straightforward top-up or a full replacement job. Take a few photos if you can and we can give you a rough idea over the phone before booking a survey.
Cost Comparison
Across our Cumbria patch, most jobs fall in one of these ranges. Exact pricing depends on loft size, access, and whether any boarding or awkward hatch work is involved.
- Top-up only (200mm added to existing 100mm): £500 to £2,500. Usually half a day on site.
- Full removal and 270mm replacement: £900 to £4,400. One day on site for most properties.
- Rodent-contaminated removal + clean + replacement: typically at the higher end of the above range, with pest control handled separately if active.
Always get a fixed written price from anyone quoting. Daily-rate quotes creep; fixed prices keep everyone honest.
Frequently Asked Questions
You can, provided the existing material is genuinely in good shape. The tricky bits are clearance around downlighters (must not touch), eaves ventilation (must stay clear), and handling mineral wool safely (mask, gloves, long sleeves). If any of that feels uncertain, a pro will finish it in half the time and leave it right.
Yes, as long as the final combined depth hits the 270-300mm target the current Part L guidance recommends. That's why we cross-lay the second layer: it closes joist-edge gaps and gets the combined depth to count.
We bag the old material inside the loft in heavy-duty rubble sacks before it comes through the hatch, use vacuum extraction for the finer debris, and run dust sheets along the landing and stair route. The rest of the house stays clean.
Ideally yes, at least the areas we'll be working on. Stored items on top of insulation compress it and make removal slower. If clearing isn't practical, mention it at survey and we'll factor the extra time into the quote.
We can, though it's rarely the right call. An uninsulated loft will hit you on heating bills within weeks. If budget is the constraint, talk to us: we can often fit a smaller-than-regulation-depth install for less, and we'll note it as a first step you'll probably want to upgrade later.